BLOG · OCR ACCURACY
Why OCR accuracy varies between images (and what actually helps)
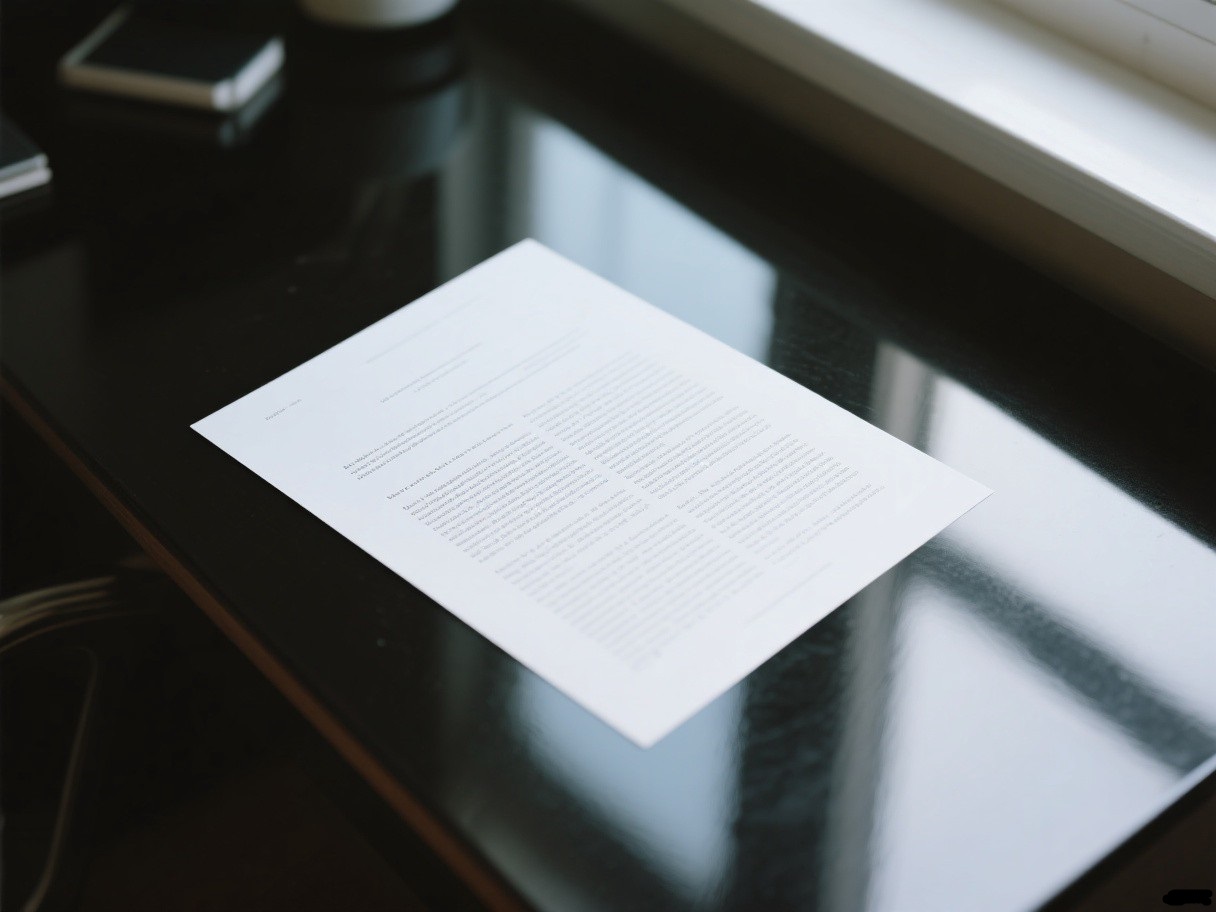
Let me start with the conclusion, because it saves everyone time: OCR accuracy is mostly decided before you upload anything. The engine matters, but within any half-decent OCR tool, the difference between a perfect conversion and a disaster is the image itself — resolution, angle, lighting, and how the file was saved.
I run totxt.org, which means I watch a steady stream of conversions go through and see which ones come out clean and which ones come out looking like a ransom note. Over time, the same patterns repeat. Here's what actually decides accuracy, and the five fixes that genuinely help.
What decides OCR accuracy
Before the fixes, the causes. These are the things that push error rates up, in rough order of how often they show up:
- Resolution. The single biggest factor. Too few pixels per letter and the engine is guessing from blobs.
- Perspective. A photo taken from a corner warps the letters. Small angles are fine; steep ones aren't.
- Lighting. Glare on glossy paper, shadows across the page, a phone flash washing out the text — all split letters into pieces.
- Compression noise. Aggressive JPG encoding puts artifacts exactly where the letter edges are.
- Layout complexity. Columns, tables, and text wrapped around images confuse the reading order, even when every word is recognized.
Fix 1: give it more pixels
This is the highest-leverage thing you can do, and it costs nothing. Fill the frame with the text. If the document occupies a third of the photo, you've thrown away two-thirds of your resolution before the engine ever sees it.
Practical targets: a full page should be photographed or scanned so the longest side is roughly 2000 pixels or more. For scans, 300 DPI. That's it — beyond that, returns diminish quickly.
Fix 2: shoot straight-on
Hold the camera parallel to the paper. The easiest way to check: if you can see three edges of the paper in the photo, the angle is probably too steep. Two edges is fine. One edge is ideal.
If you have a photo already taken at an angle, a perspective correction in any photo editor helps a lot — more than any "enhance" button, for sure.
Fix 3: control the light
Put the light on the paper, not behind you. A window behind your shoulder means the camera and the light are on the same side — that's what you want. Glossy pages will still glare, so angle the paper slightly away from the light source.
Shadows are just as bad. A hand, a coffee mug, your own head, all casting shadow across the page — each shadow is a smear of letters the engine has to guess through.
Fix 4: clean the image before converting
Three small edits before upload make a measurable difference on bad photos:
- Increase contrast. Push the contrast up until the text is dark and the background is light. OCR loves black-on-white.
- Crop to the text area. Remove the desk, the table edge, the finger that slipped into frame. Less noise, more focus.
- Straighten the page. Even a small rotation confuses line detection. Rotate until the lines run level.
What doesn't help: running the image through aggressive filters, or upscaling a tiny image to look bigger. Upscaling adds pixels but no real information — it's the same blur at a larger size.
Fix 5: tell it the language
Auto-detect works well for full pages in a single language. For short snippets, or documents mixing similar-looking scripts, selecting the language manually is noticeably more accurate. The converter on this site has over 100 languages in the dropdown — one click, and the engine narrows its guesses to the right character set.
This matters most for languages with subtle character differences: Polish and Czech, Turkish and Azerbaijani, Chinese and Japanese. If the text is in one language, say which one.
The handwriting reality check
You'll notice everything above assumes printed text, and that's deliberate. OCR engines are trained on printed characters. Handwriting recognition is a genuinely different problem — one where even the best systems stumble on anything faster than careful block print.
If your input is handwriting: neat, uppercase block letters convert sometimes; cursive is effectively a coin flip. Don't be surprised when it fails, and don't blame the tool — this is the state of the technology, not a bug.
The five fixes, ranked
If you remember nothing else:
- More pixels (fill the frame, 300 DPI scans)
- Straight-on photo, not from a corner
- Even light, no glare, no shadows
- Contrast, crop, and straighten before upload
- Pick the language manually instead of auto-detect
Do those five things and the vast majority of printed documents convert close to perfectly. Skip them and no tool will save you.
For the broader picture, the JPG to text guide covers the format-specific side of this, and the extract text from an image article walks through the three situations people actually convert from. Or just skip the reading and try a conversion — the tool itself is free, files are deleted after processing, and the mask button is there if you want to cover anything sensitive first.